
Venting your dryer to the garage can be a fire hazard, pollute your home, and reduce your dryer’s efficiency. Rerouting your dryer vent to the outside is a relatively simple project that can improve your home’s safety and air quality.
In this blog post, we will walk you through the steps of how to reroute your dryer vent from the garage to the outside. We will also provide tips on choosing the right materials and tools and avoiding common mistakes.
If you are not comfortable rerouting your dryer vent yourself, hire a professional dryer vent cleaning company. They can inspect your vent and make sure it is properly installed.
Reasons Not to Vent Your Dryer into the Garage
Fire Hazard
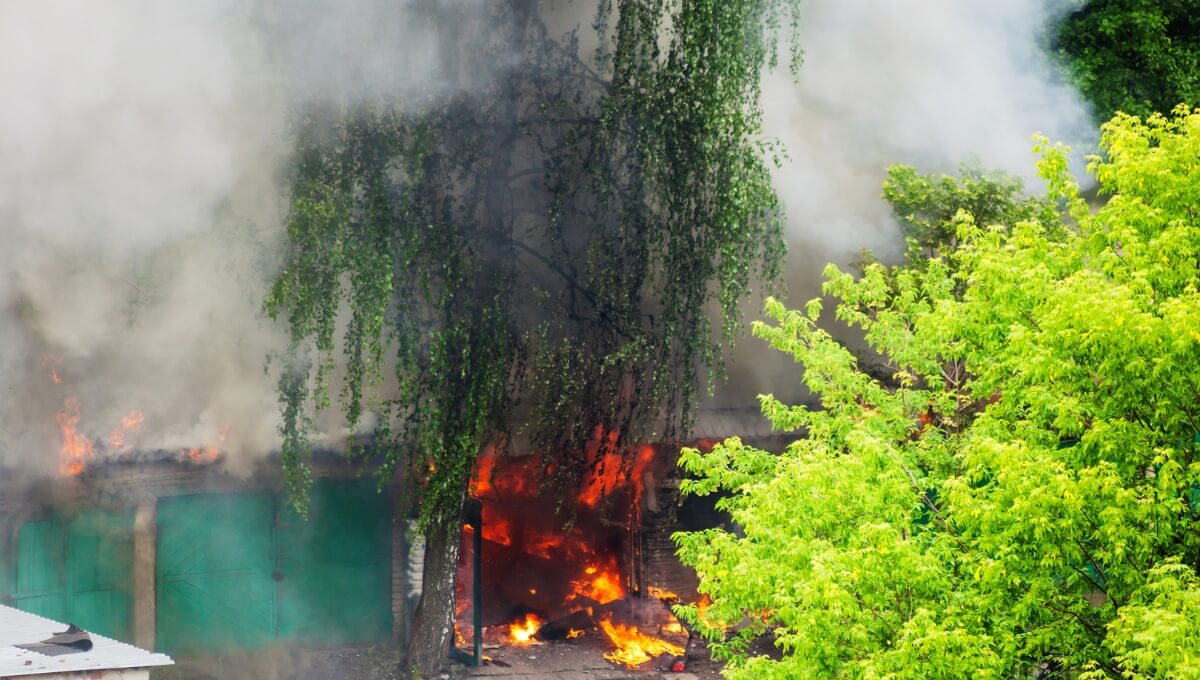
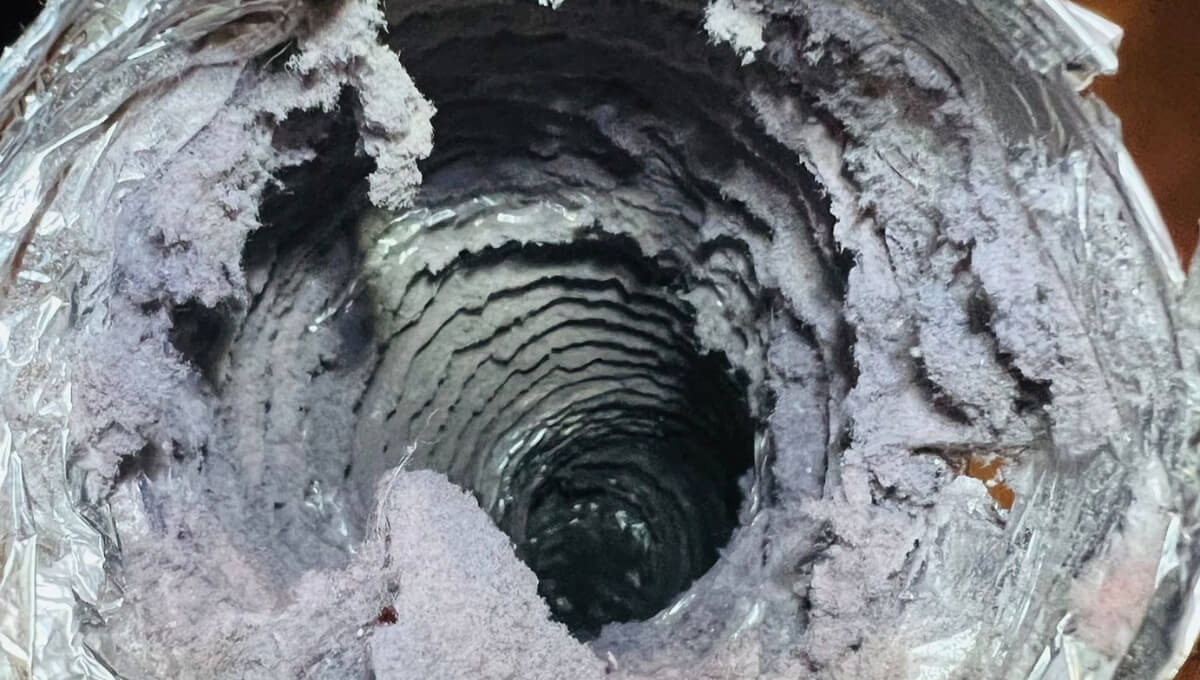
Dryers generate a significant amount of heat, and lint, a highly flammable material, can accumulate in the vent system. Venting into the garage increases the risk of a lint buildup, which can lead to a potential fire hazard. In the confined space of a garage, a dryer fire could spread quickly and become a serious safety concern.
Carbon monoxide poisoning
Gas dryers produce small amounts of carbon monoxide, a colorless, odorless, and tasteless gas that is poisonous to humans and animals. When carbon monoxide is inhaled, it displaces oxygen in the bloodstream, preventing the body’s cells from getting the oxygen they need to function.
Venting a gas dryer into the garage can allow carbon monoxide to enter your home through cracks in the foundation, walls, and doors. This is especially dangerous in attached garages, where carbon monoxide fumes can easily seep into the living space.
Symptoms of carbon monoxide poisoning can include headache, dizziness, nausea, vomiting, fatigue, and confusion. In severe cases, carbon monoxide poisoning can lead to coma, heart attack, and death.
Mold and mildew growth
Dryer exhaust contains moisture, which can create an ideal environment for mold and mildew growth. This can be a problem in the garage, which is often cooler and damper than the rest of the house. Mold and mildew can cause respiratory problems and other health issues.
Reduced air quality
The hot, humid air that is exhausted from a dryer can also reduce the air quality in your garage in a number of ways. First, it can increase the levels of airborne pollutants, such as dust, pollen, and mold spores. This can make it difficult to breathe and can trigger allergies and asthma symptoms.

Then, the hot, humid air can also damage your belongings, such as tools, equipment, and furniture. For example, it can cause wood to warp and metal to rust.
Increased noise
Venting your dryer into the garage can also make your dryer louder. This can be a problem if your laundry room is near your living area or bedroom.
How to reroute dryer vent from garage to outside?
Rerouting a dryer vent from your garage to the outside involves a few steps and requires specific materials. This process is essential to ensure that the moisture and lint generated by the dryer are properly vented to the exterior, which helps prevent issues like mold and fire hazards. Here’s a general guide on how to do it:
Materials You’ll Need:
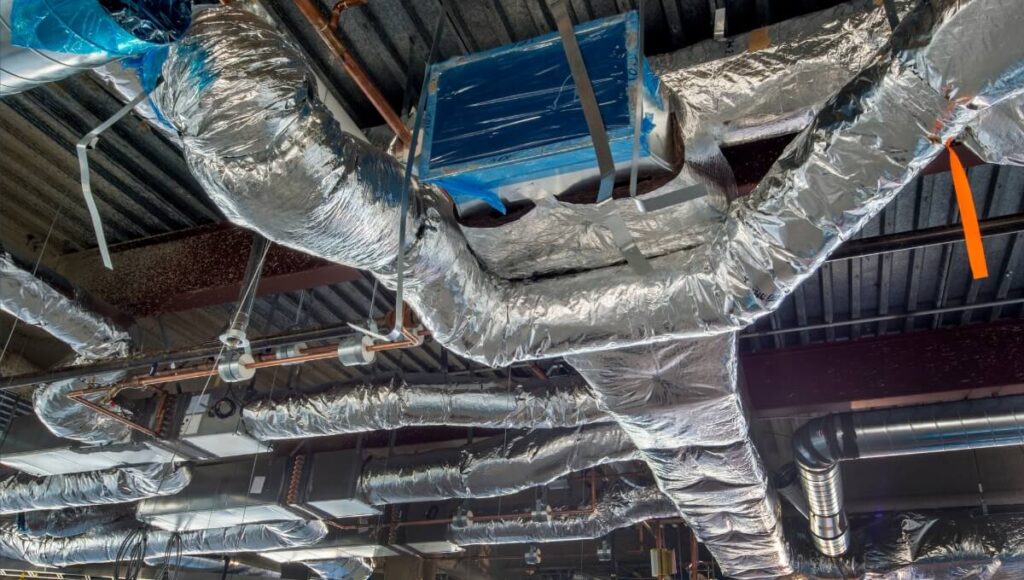
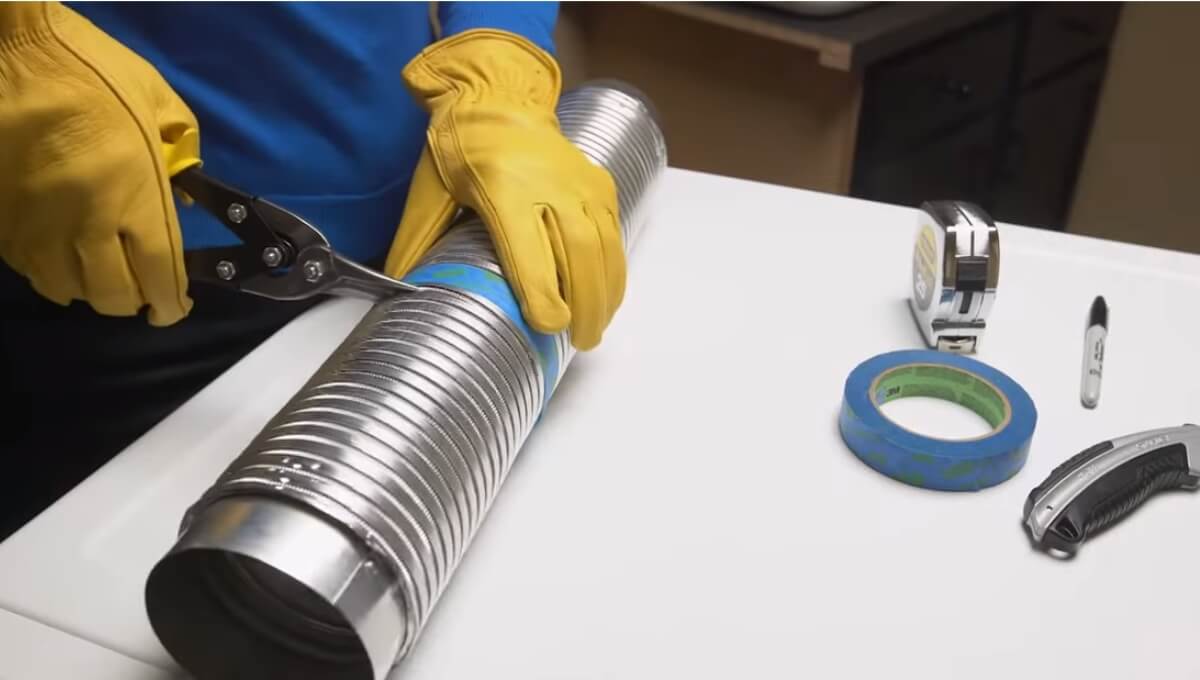
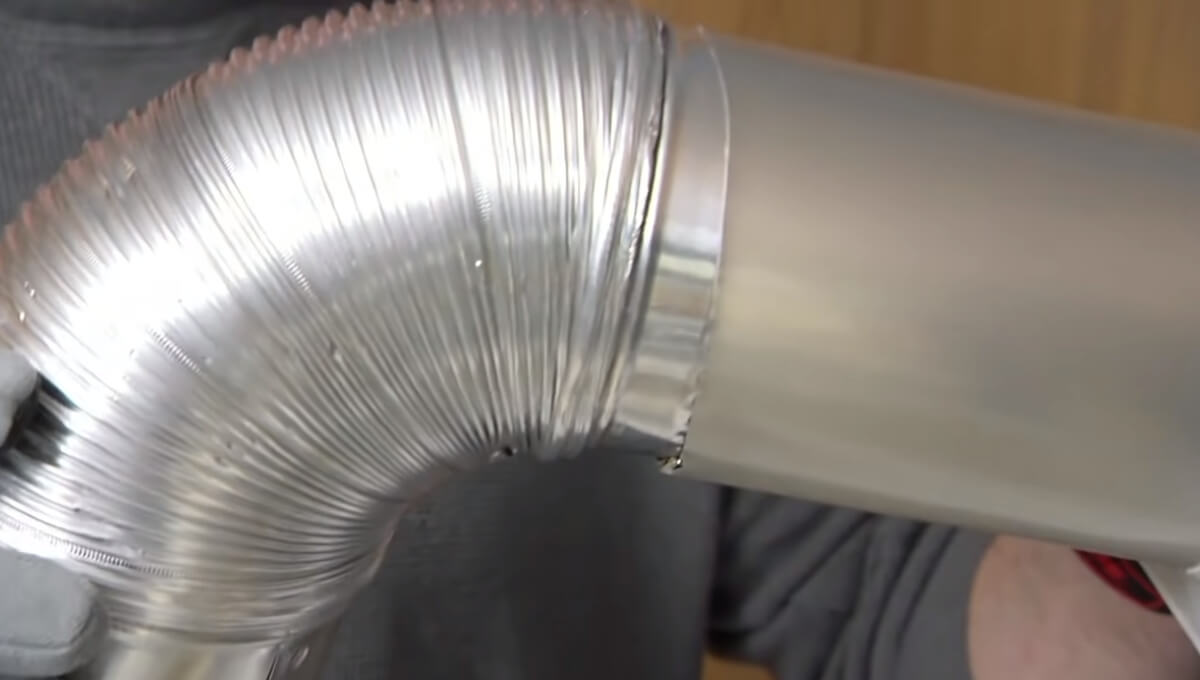
Vent Pipe: You’ll need a rigid metal duct or flexible aluminum duct. Rigid metal duct is preferred because it’s more durable and less likely to trap lint. It’s typically 4 inches in diameter.
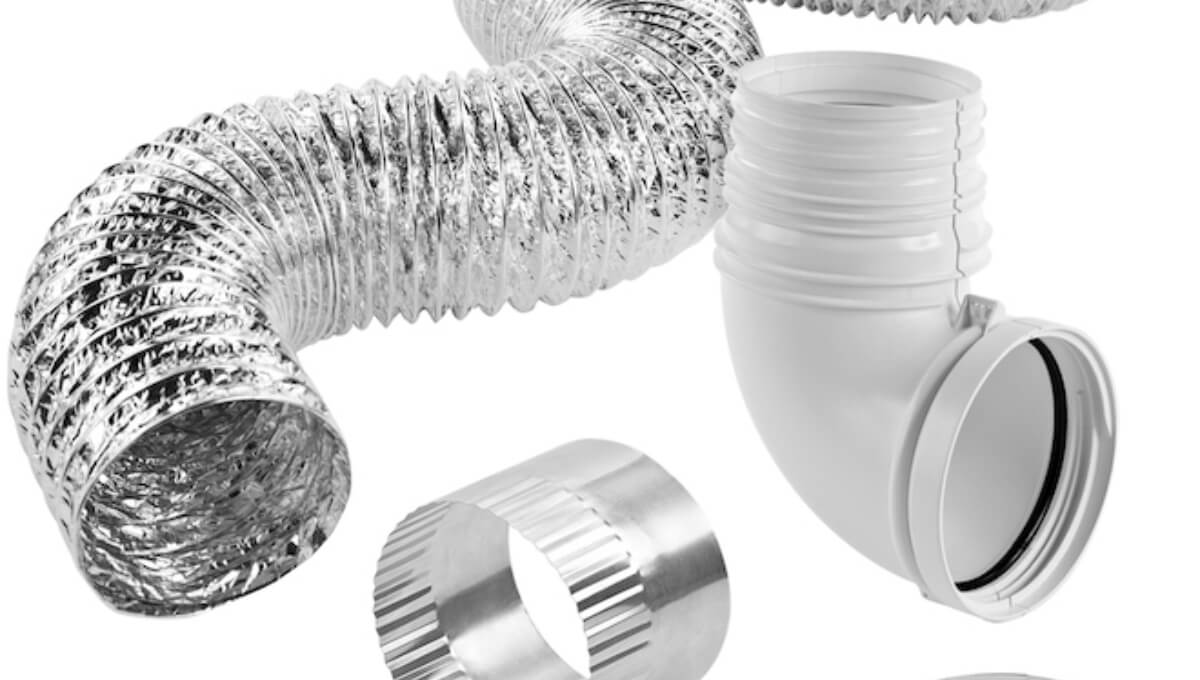
Vent Hood: You’ll need an exterior vent hood with a flapper or damper to prevent pests from entering and to keep outside air from coming in. Choose a vent hood designed for dryer vents.
Duct Tape or Metal Clamps: To secure the connections between the vent pipe and the dryer, as well as between the vent pipe and the exterior vent hood.
Screwdriver or Drill: For attaching the vent hood to the exterior wall.
Pliers: To secure the clamps on the vent pipe.
Safety Gear: Wear gloves and safety glasses to protect yourself from sharp edges and debris.
Steps By Step Guide:
Step 1: Check Local Codes
Before you begin, check your local building codes and regulations for any specific requirements related to dryer vent installation. Compliance with these codes is essential for safety and to avoid potential legal issues.
Step 2: Locate an Exterior Exit Point
Choose an appropriate exterior location for the new dryer vent exit point. It should be as short and straight as possible to maximize airflow and minimize lint buildup.
Step 3: Measure and Mark
Measure the distance from the dryer to the chosen exterior location. Mark the exit point on the wall and the corresponding point on the dryer where the vent will connect.
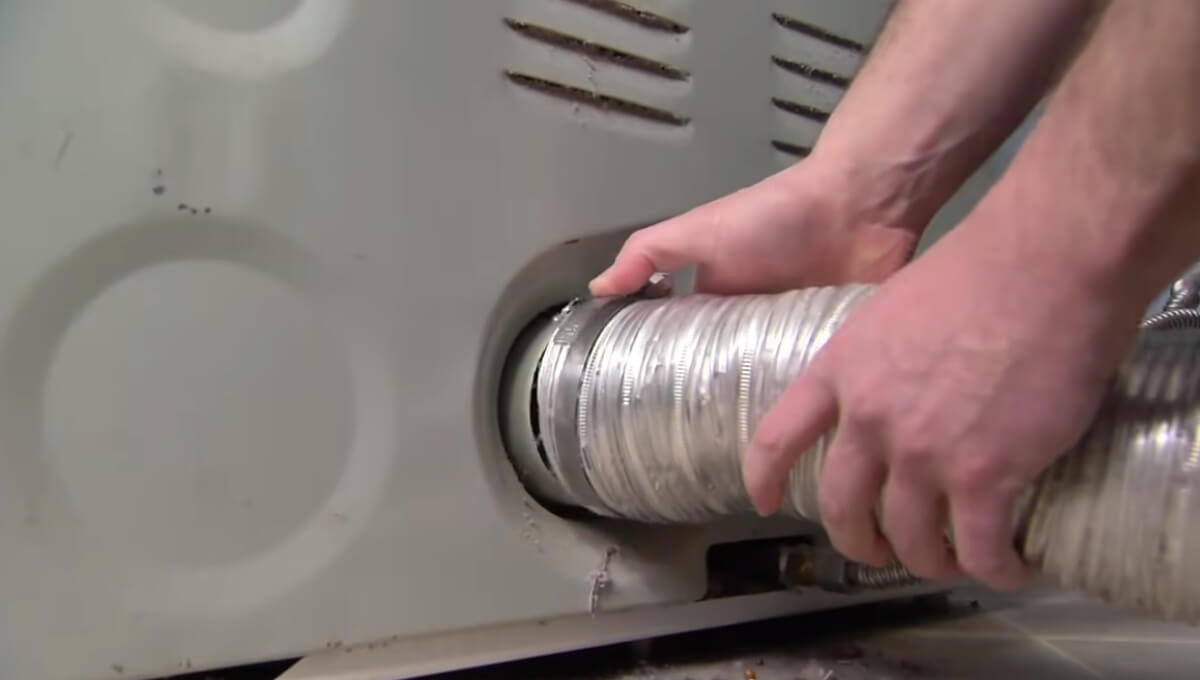
Step 4: Disconnect the Dryer
Turn off and unplug the dryer. Disconnect the existing vent duct from the back of the dryer by loosening the clamps or screws holding it in place. Pull the old duct out.
Step 5: Remove the Existing Garage Vent
If your dryer vent is currently vented into the garage, remove the existing vent system. This may involve unscrewing or detaching the ductwork and removing any brackets or supports.
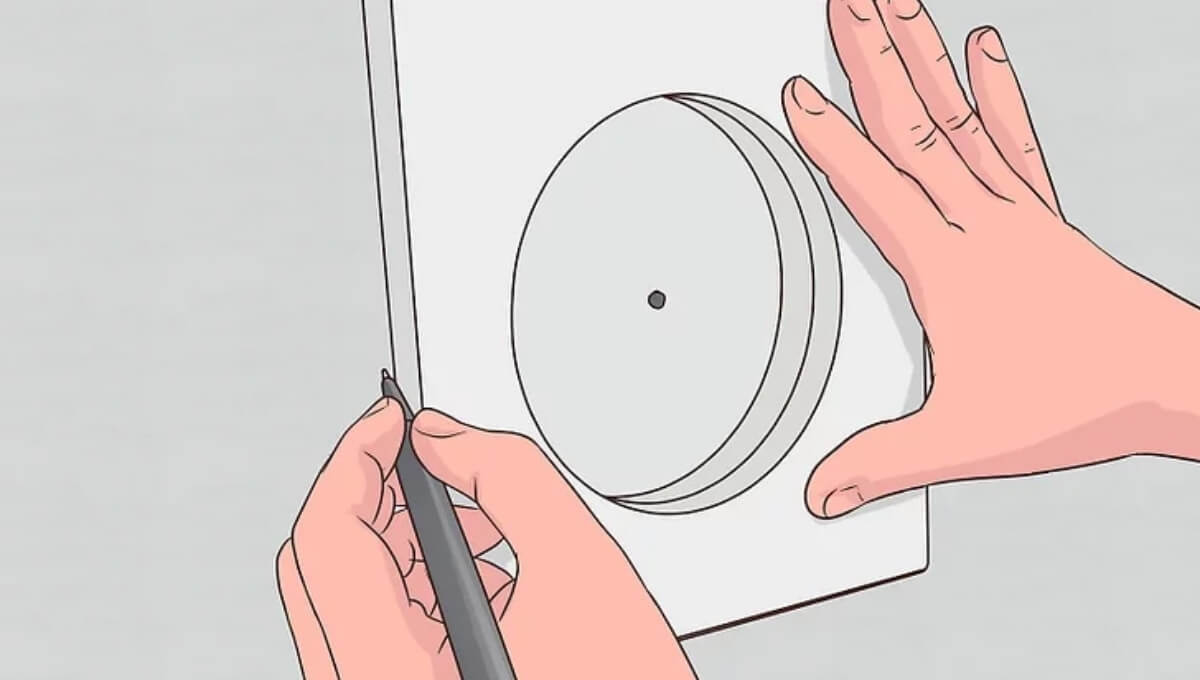
Step 6: Drill a Hole
If there isn’t already a hole in the exterior wall for the vent, you’ll need to drill one. Use a hole saw appropriate for the diameter of your vent duct. Be sure to align the hole inside with the mark on the exterior wall.
Step 7: Install the New Duct
Attach the new vent duct to the back of the dryer using clamps or screws. Extend the duct to the exterior exit point, making sure it’s securely connected along the way. Use rigid or semi-rigid ducts for better airflow.
Step 8: Install the Vent Cap
Attach a vent hood or cap to the exterior wall using screws. Make sure it is securely sealed and level with the wall.
Step 9: Secure Connections
Tighten all connections using clamps or foil tape to ensure airtight seals. This prevents lint and exhaust gases from escaping into your home.
Step 10: Clean the Duct
Before using the dryer, use a vent brush to clean the inside of the new duct and remove any dust or debris that may have accumulated during installation.
Step 11: Plug In and Test
Plug the dryer back in and turn it on to check if it’s functioning correctly. Ensure that the air is venting outside through the new duct and that there are no issues with the installation.
Step 12: Replace the Garage Vent Cover
If you remove the existing vent in the garage, cover the hole with appropriate materials to seal it and prevent any pests from entering.
By following these steps, you can safely reroute your dryer vent from the garage to the outside, improving the efficiency and safety of your dryer system. If you’re not comfortable with any part of this process, consider hiring a professional to ensure a safe and proper installation.

Final Words
Rerouting your dryer vent from the garage to the outside is an important safety measure that can help to prevent fires, carbon monoxide poisoning, and mold growth. If you are not comfortable rerouting your dryer vent yourself, you can hire a qualified professional like Puriofx LLC to do it for you. We provide dryer vent cleaning and installation services in Maryland, Virginia, and Washington.
Contact us today for a free consultation and estimate. We look forward to helping you make your home safer and healthier.
FAQs
Does a portable dryer have to be vented outside?
Yes, a portable dryer does need to be vented to the outside. Portable dryers produce hot, humid air that can contain lint, dust, and other particles. Venting this air to the outside helps to prevent these particles from accumulating in your home and causing health problems or fire hazards.
How far can I run a dryer vent?
The maximum length of a dryer vent is 35 feet, with a reduction of 2.5 feet for every 45-degree bend and 5 feet for every 90-degree bend. This is according to the International Residential Code (IRC) and the National Fire Protection Association (NFPA).
However, it is important to note that this is just a general guideline. The actual length of your dryer vent will depend on a number of factors, including the type of dryer you have, the diameter of the vent pipe, and the number of bends in the vent system.
